Passport Panic: What to Do If Yours Gets Lost Abroad

Monica Gray - July 13, 2025
Share

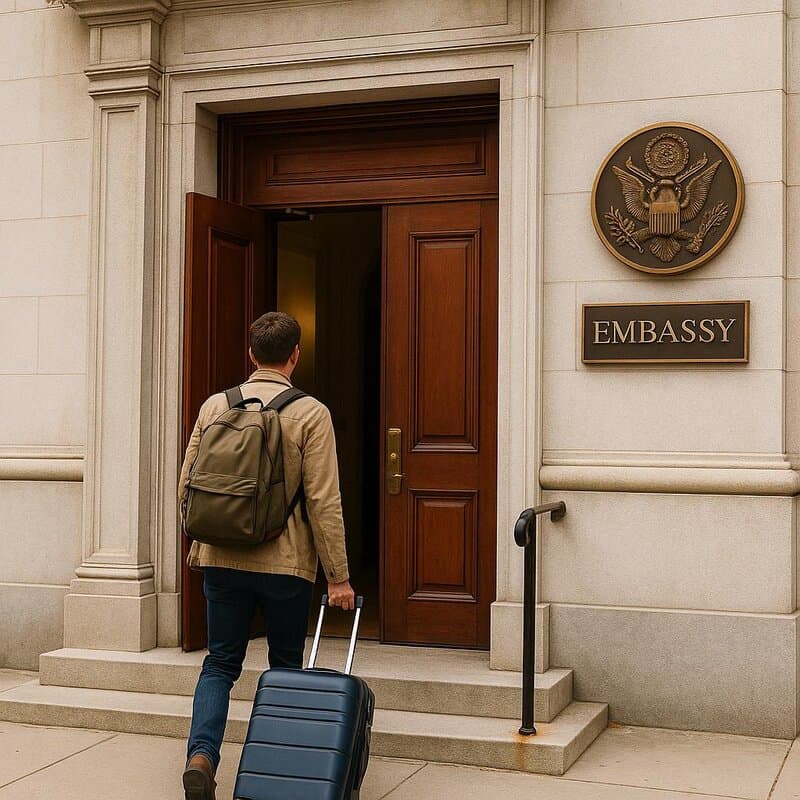
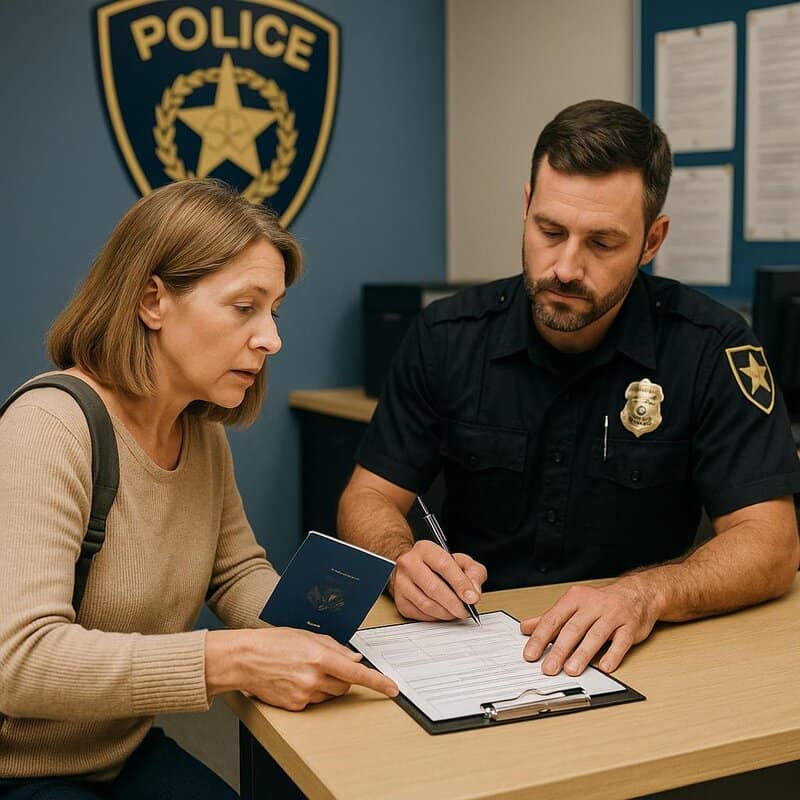
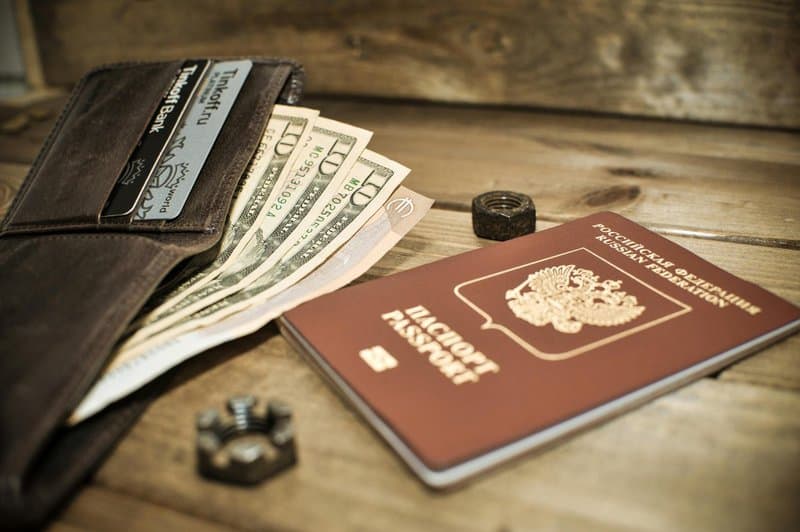
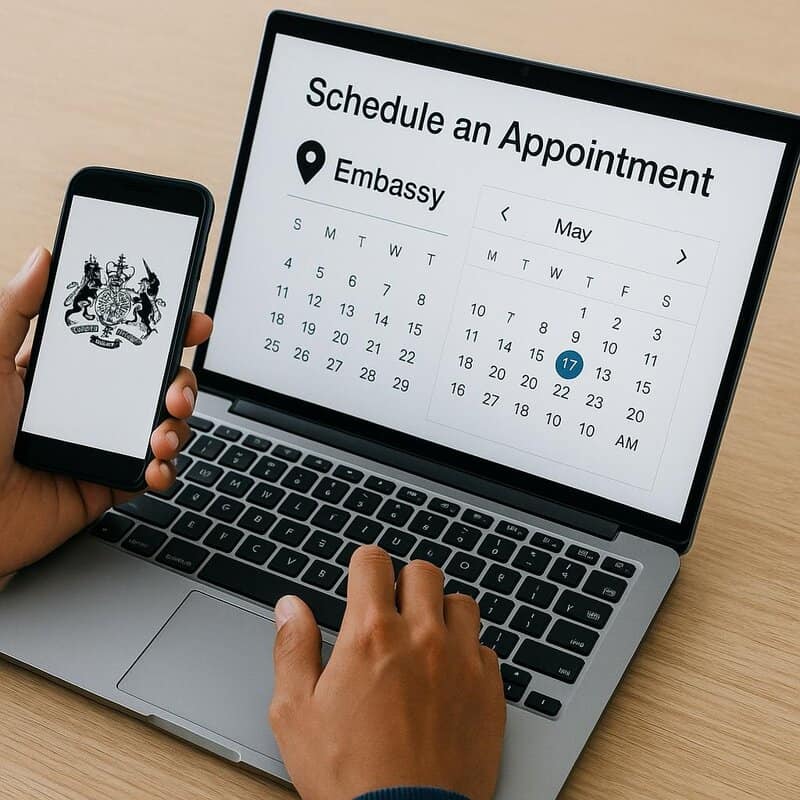
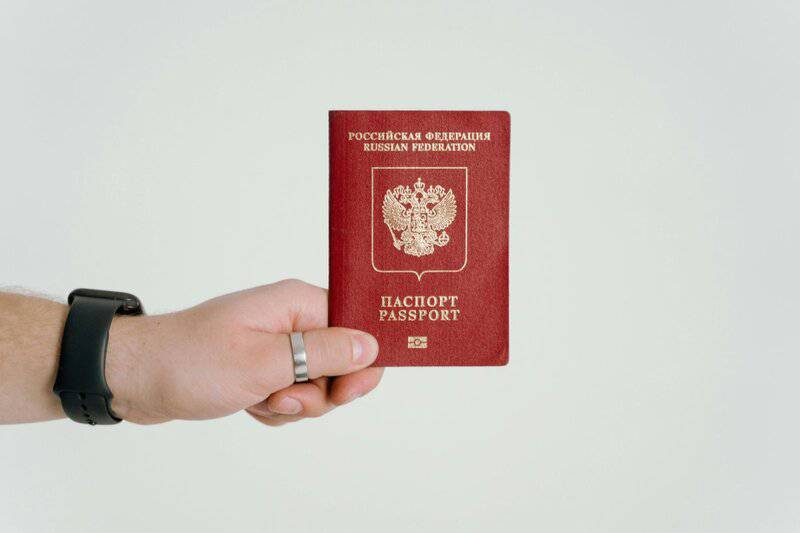
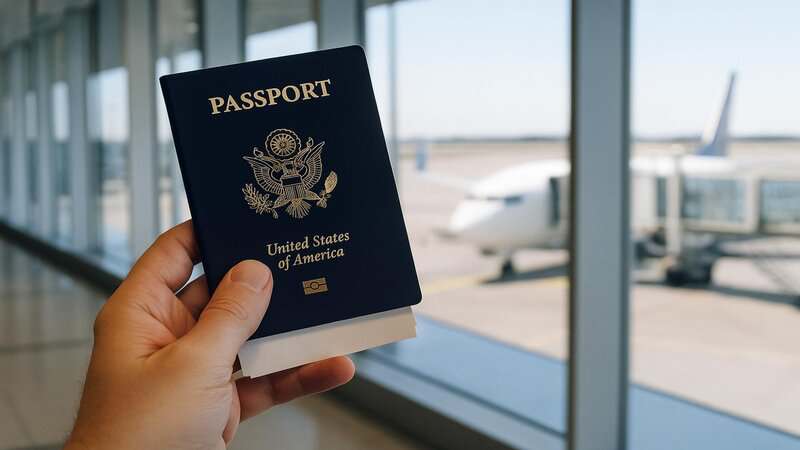
Losing your passport in a foreign country is every traveler’s nightmare. Panic may set in quickly, but knowing the right steps can help you regain composure and take decisive action. From protecting your identity to navigating the complexities of embassy procedures, each move you make is crucial to your safety and peace of mind. This guide offers a clear, step-by-step approach to handling a lost passport abroad—helping you move from anxiety to resolution, and ensuring your travels don’t end in disaster.

1. Stay Calm and Assess the Situation

1. Stay Calm and Assess the Situation
Stay calm and retrace your steps—clear thinking helps recover a misplaced passport efficiently.

The initial shock of a missing passport can cloud your judgment. Pause and take a deep breath. Retrace your steps to the last place you had your passport—sometimes it’s just misplaced, not stolen. As highlighted by the U.S. Department of State, staying calm is key to thinking clearly and avoiding costly mistakes in a stressful moment.

2. Search Thoroughly Before Reporting

2. Search Thoroughly Before Reporting
A hotel guest rummages through opened suitcases in a cozy room, anxiously searching for a missing item. | Photo by Andrea Piacquadio on Pexels

Before sounding the alarm, double-check your belongings—luggage, pockets, and even unusual hiding spots in your accommodation. Sometimes passports are tucked away for “safekeeping” and simply forgotten. Enlist the help of hotel staff or travel companions in your search. A meticulous sweep can spare you the bureaucratic headache of replacing your passport unnecessarily.

3. Contact Your Country’s Embassy or Consulate

3. Contact Your Country’s Embassy or Consulate
A traveler seeks assistance at an embassy to replace a lost passport and receive guidance.

If your passport is truly lost, your next step is to find the nearest embassy or consulate. Embassies are equipped to help with emergency travel documents and offer essential guidance for stranded travelers. Use official online resources or ask local authorities for directions. Processes and requirements differ, so visit your country’s embassy website—like the US embassies directory—for current information.

4. File a Police Report

4. File a Police Report
Reporting a lost or stolen passport ensures identity protection and is essential for embassy assistance.

Filing a police report is a crucial step when your passport is lost or stolen. This official documentation can help protect you from identity theft and will likely be required by your embassy. Share all relevant details and request a copy for your records. For more information, consult Interpol guidance on passport security.

5. Secure Your Identity and Valuables

5. Secure Your Identity and Valuables
A person locks a sleek, secure wallet in a safe, protecting valuables and guarding against identity theft. | Photo by Natasha Chebanoo on Pexels

A lost passport can expose you to identity theft. Monitor your financial accounts for unusual activity and consider setting up fraud alerts with your bank. Keep remaining identification and valuables in a safe place. The Federal Trade Commission suggests acting swiftly to protect your identity and minimize risks if your passport goes missing.

6. Gather Required Documents for Replacement

6. Gather Required Documents for Replacement
A neatly organized desk displays a document checklist, several passport photos, and a laptop showing digital copies. | Photo by Nataliya Vaitkevich on Pexels

When applying for a replacement passport, you’ll need to collect several key documents: the police report, proof of citizenship (like a birth certificate or government-issued ID), and recent passport photos. Requirements can differ by country, so always consult your embassy’s website for up-to-date instructions—see Australian passport replacement for an example. Digital copies saved in secure cloud storage can make the process much smoother if originals are lost.

7. Obtain Passport Photos Locally

7. Obtain Passport Photos Locally
Passport photos for embassy applications must meet strict size and background requirements; check official guidelines.

Embassies usually require recent, regulation-compliant passport photos for replacements. Many cities offer photo booths or photography shops specializing in official documents. Check your embassy’s guidelines for specific size and background requirements—these can vary. Some embassies also provide recommended vendors. Visit Canadian photo guidelines for a helpful reference.

8. Fill Out Emergency Passport Application Forms

8. Fill Out Emergency Passport Application Forms
A person carefully fills out embassy paperwork, meticulously completing an application form at a neatly organized desk. | Photo by Nataliya Vaitkevich on Pexels

Most consulates provide emergency passport application forms either online or at their offices. Take care to fill out these forms thoroughly and accurately to prevent processing delays. Bring all required documents and closely follow your embassy’s instructions. For specific guidance, review the US emergency passport info page.

9. Schedule an Appointment with the Embassy

9. Schedule an Appointment with the Embassy
Scheduling embassy appointments in advance streamlines passport services and minimizes wait times for visitors.

Many embassies require you to schedule an appointment before you can visit for passport services. Check their website or call ahead—walk-ins are often not accepted. Securing an appointment promptly can reduce your waiting time significantly. For more details, see UK embassy appointments and follow the specific instructions for your location.

10. Prepare for Potential Fees

10. Prepare for Potential Fees
A stack of passports rests beside cash, coins, and a credit card, highlighting different payment methods for passport fees. | Photo by Photo By: Kaboompics.com on Pexels

Replacing a lost passport almost always involves a fee, which can vary by country and urgency. Some embassies accept only specific payment methods, such as credit cards or local currency. Always check the embassy’s website for the most current fee details—see Australian passport fees for reference—and be ready to pay when you arrive.

11. Consider Emergency Travel Documents

11. Consider Emergency Travel Documents
A temporary passport and emergency travel document rest atop a stack of official papers, ready for urgent departure. | Photo by Tima Miroshnichenko on Pexels

If you must travel before a replacement passport is ready, ask your embassy about emergency travel documents (ETDs). ETDs are typically processed more quickly and allow you to return home or reach another destination, though they have usage restrictions. For more details, review European ETD information to understand eligibility and limitations.

12. Notify Airlines and Accommodation

12. Notify Airlines and Accommodation
A traveler chats with a friendly staff member at a sleek airline desk that doubles as a hotel reception. | Photo by Mikhail Nilov on Pexels

Let your airline and hotel know about your lost passport as soon as possible. Airlines may need valid ID to change tickets or allow boarding, and hotels often require documentation for extended stays. Clear communication can help prevent misunderstandings or extra charges. See the IATA traveler guide for more travel document tips.

13. Stay Connected with Family or Friends

13. Stay Connected with Family or Friends
A smiling woman sits on her couch, texting friends and chatting with family on a video call. | Photo by RDNE Stock project on Pexels

Inform family or friends about your situation and current location. They can provide emotional support, help send important documents, or assist with embassy communication if needed. Keeping loved ones updated also ensures someone knows your whereabouts in case of further emergencies. Visit Red Cross travel safety tips for more advice.

14. Monitor Your Travel Plans and Visas

14. Monitor Your Travel Plans and Visas
A passport open to a fresh visa stamp rests on the counter as an officer reviews documents at passport control. | Photo by Tima Miroshnichenko on Pexels

Losing your passport can impact your visas and entry permits. Notify local immigration authorities to avoid overstaying, which could result in fines or legal trouble. Some countries require you to report lost visas separately, so be sure to follow local rules. Stay aware of your legal status—see Schengen visa rules for an example.

15. Use Alternative Identification

15. Use Alternative Identification
Secondary government-issued IDs serve as essential backup for identification during travel and official processes.

If you have a secondary government-issued ID, such as a driver’s license or national ID card, it can be invaluable for proving your identity at hotels, banks, or with authorities. Some countries accept these documents temporarily. Always travel with backup IDs—see TSA ID requirements for more information.

16. Leverage Digital Copies and Cloud Storage

16. Leverage Digital Copies and Cloud Storage
A smartphone screen displays a digital passport copy securely stored in a cloud storage app, highlighting modern travel security. | Photo by Hiren Lad on Pexels

Digital scans of your passport and other key documents can simplify the replacement process and help verify your identity abroad. Store encrypted copies in secure cloud services or email them to yourself for reliable, remote access. For more on digital safety, visit travel security tips from CNET.

17. Seek Help from Travel Insurance Providers

17. Seek Help from Travel Insurance Providers
A worried traveler fills out an insurance claim form at an airport help desk after losing their passport abroad. | Photo by Kampus Production on Pexels

Certain travel insurance policies cover passport replacement costs, extra accommodation, or related expenses. Contact your insurer as soon as possible to begin the claims process and clarify which services are included. Prompt action ensures you benefit from available support—see travel insurance advice for more details on coverage.

18. Remain Patient and Stay Safe

18. Remain Patient and Stay Safe
A calm traveler waits in a bright embassy lounge, reassured by friendly staff and clear safety guidelines. | Photo by Andrea Piacquadio on Pexels

Resolving a lost passport can be a slow process, especially during peak travel times or in remote areas.
Stay patient, maintain open communication with authorities, and always prioritize your safety. If you feel at risk, reach out to your embassy or local police for support. For more guidance, visit U.S. State Department safety tips.

Conclusion

Conclusion
A smiling traveler holds up a brand-new passport at the counter, relieved and ready to continue their journey. | Photo by Gustavo Fring on Pexels

Losing your passport abroad can feel overwhelming, but with the right approach, it’s a challenge you can overcome. Act promptly, stay calm, and follow official procedures to regain control of your situation. Organization and preparation—like carrying backup IDs and digital copies—are your best safeguards. Remember, embassies, friends, and travel insurance providers are there to help. Stay informed and prepared, and let your sense of adventure outweigh any travel setback.

.article-content-img img { width: 100% }
Advertisement